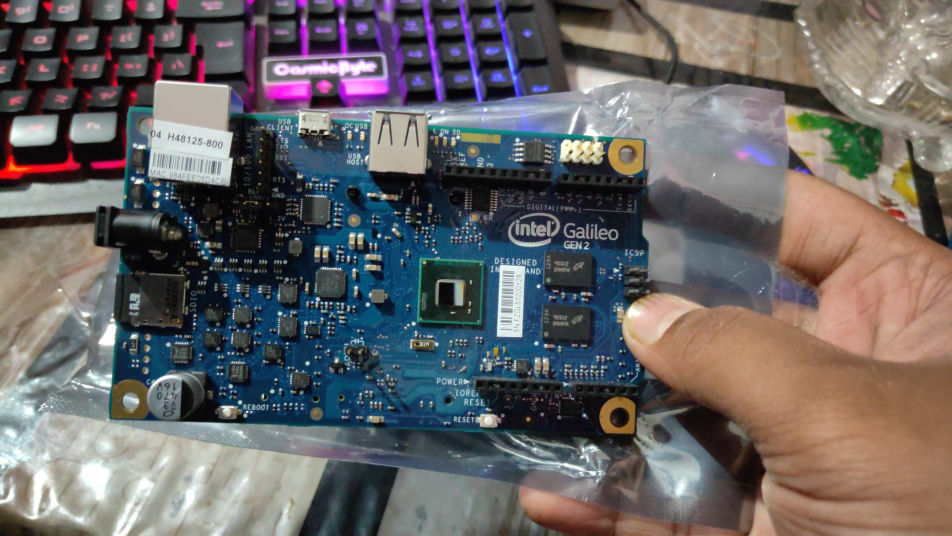
Its the best and even the worst ...
Its like a Strong Capable man with
an eight-year-old Brain.
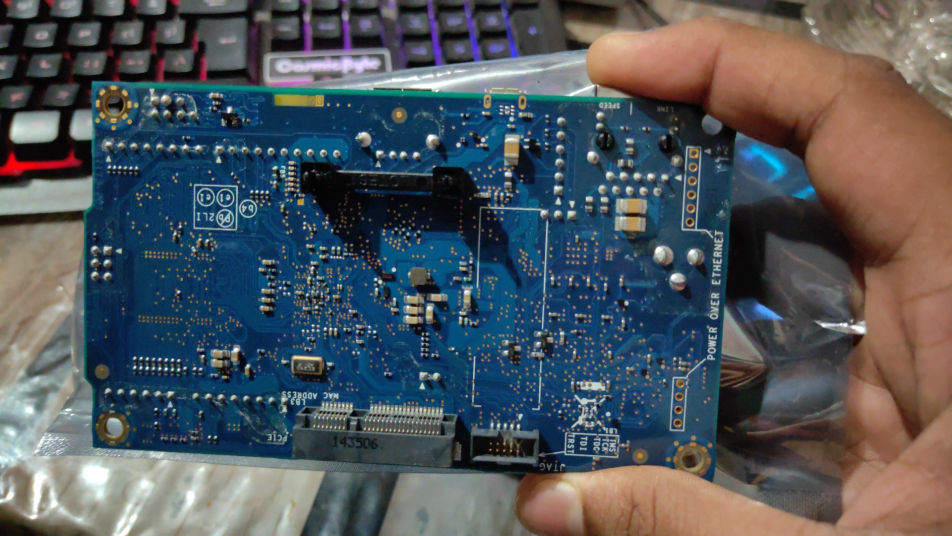
Intel has provided with all the ports needed to expand any kind of project. It has arduino supported pinouts for shields and even an Mini Peripheral Component Interconnect Express (Mini PCIe) expansion slot for additional WiFi or Bluetooth modules.
Intel has shut down all the support for galileo boards. Only one can find the scattered files with no instruction on how to use those files.
> Plug power to the galileo board.
> Insert the micro usb programming cable.
> Locate the 'find driver' option to the extracted file - "S1.
IntelGalileoWindowsSerialDrivers".
> After the driver is installed locate the port number of intel galileo
from the device manager.
> Open the file named - "S2. IntelGalileoFirmwareUpdater-1.1.0".
> Select the correct port and update the galileo's firmware.
> Now you need a SD Card to permanently store the code (or it will
disappear from the bord once you restart it).
> Extract the contents of - "S3. SDCard.1.1.1.tar" directly into the SD
Card.
> Make sure that all the files are directly extracted in the home page
of the SD Card without any other files or folder or the code wont be
stored on the SD Card.
> Your Sd Card should Have ONLY these Files.
1. /boot/grub/grub.conf
2. bzImage
3. core-image-minimal-initramfs-clanton.cpio.gz
4. core-image-minimal-initramfs-clanton.cpio
5. grub.efi
6. image-full-galileo-clanton.ext3
> Now you're good to start uploading your first code, maybe the blink sketch
> Test by pressing the reboot buton.
Note: Galileo takes 2 minutes to boot from the sd card so please don't go mad on me complaining that the methods are not working.